How to make chocolate nests
An edible chocolate bowl for your desserts or just for fun! I started making these chocolate nests a very long time ago when I was teaching kids to work with chocolate in Los Angeles. They loved every step including when the balloons exploded when too hot of chocolate was poured on them. If this happens to you, I hope you enjoy it also. But, be comforted by knowing that it has never happened to me.
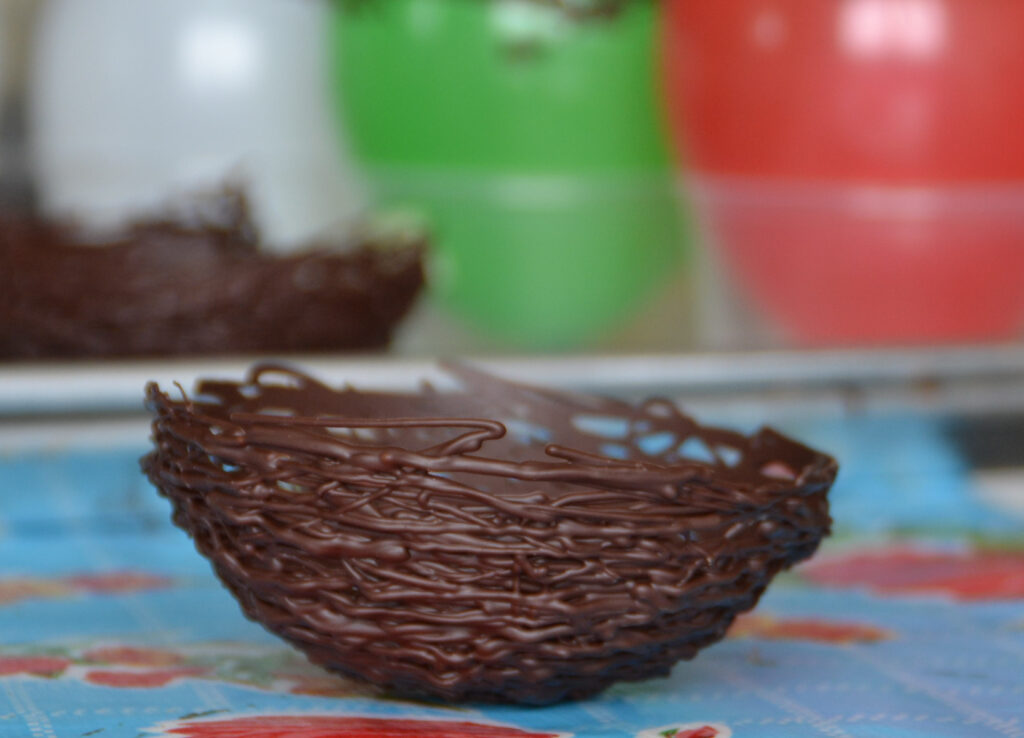
These chocolate nests are easy, fun, and you can make them ahead of time, like weeks ahead of time and have them ready for any occasion. But they are also a super entertaining thing to do with your kids or guests. These particular nests that I made were for a restaurant – they served them as a dessert with caramel popcorn inside. If you are going to place something more liquid like ice cream, make sure to add more chocolate on the bottom so it does not leak out so much. Your other option is to use it as a top or cover instead of a bowl. Either way, the point is to eat it.
You do need to have some knowledge of tempering chocolate for this project or use the fake chocolate melts.
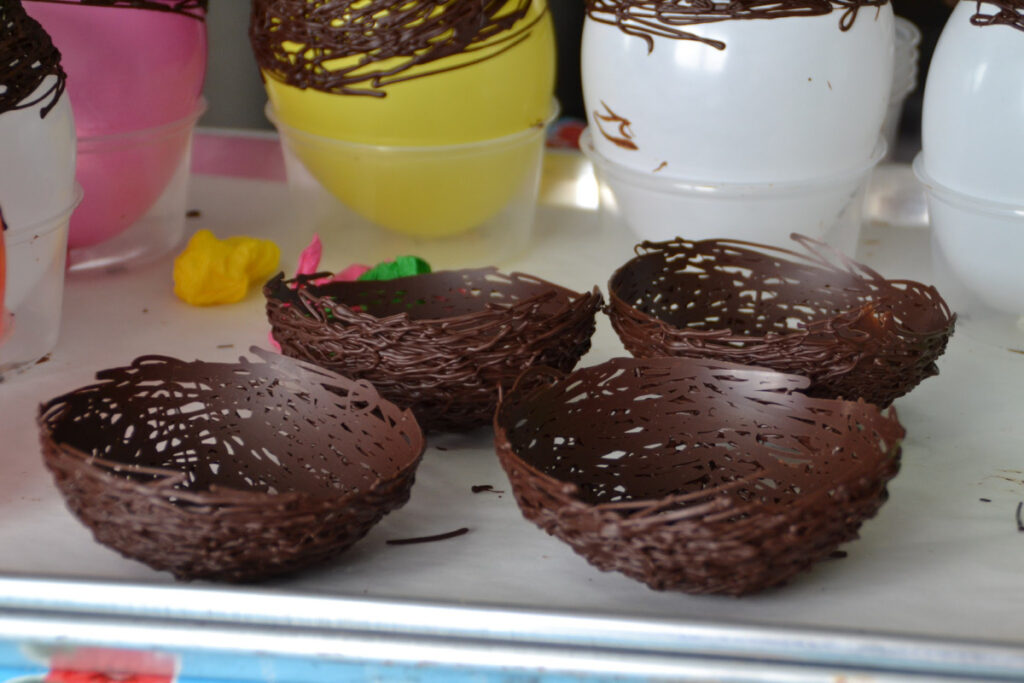

Chocolate Nests
- Total Time: 30 minutes
Description
Edible chocolate nests, bowls, or domes for desserts.
Ingredients
- Tempered dark, milk, or white chocolate.
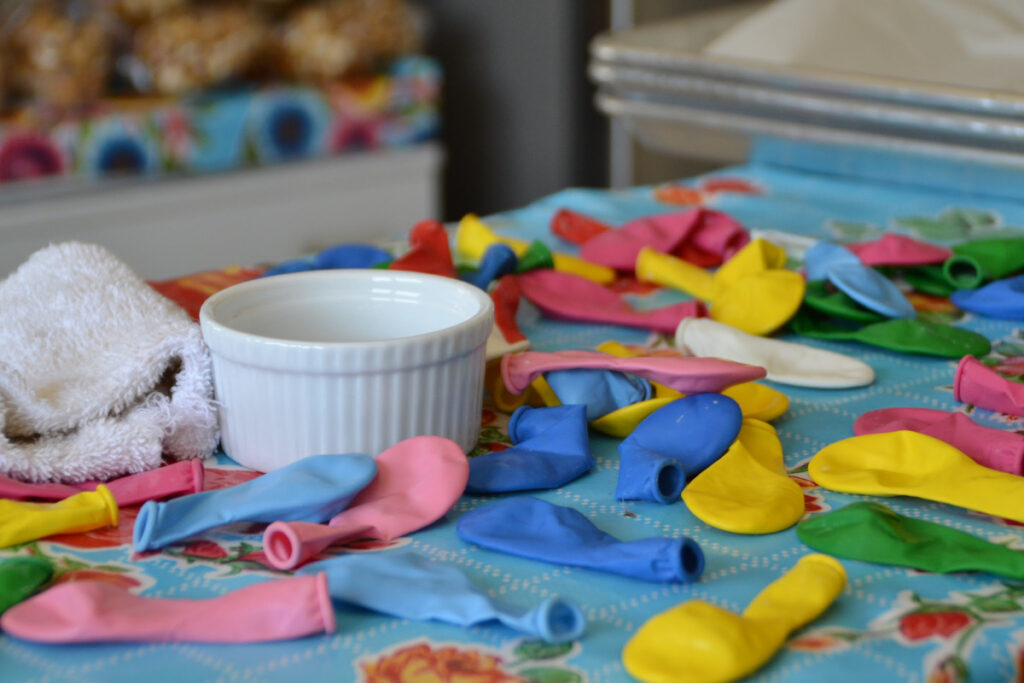
- Small or medium sized balloons.
- Parchment cone or piping bag
Each nest weighs about 30grams, so make as much chocolate as you need to make as many nests as you need.
Tools to help you with this recipe:
Instructions
- Find balloons the shape and size that you want to create your nests. Here I am using small balloons that are usually used to fill with water. I have used the large balloons also to make giant bowls.
- Clean balloons with water first to remove any white powder that might come on them, this powder is not edible and bitter. Make sure the balloons are dry with no water left on them before continuing.
- Blow air into the balloons until they are the size you want the nest to be.
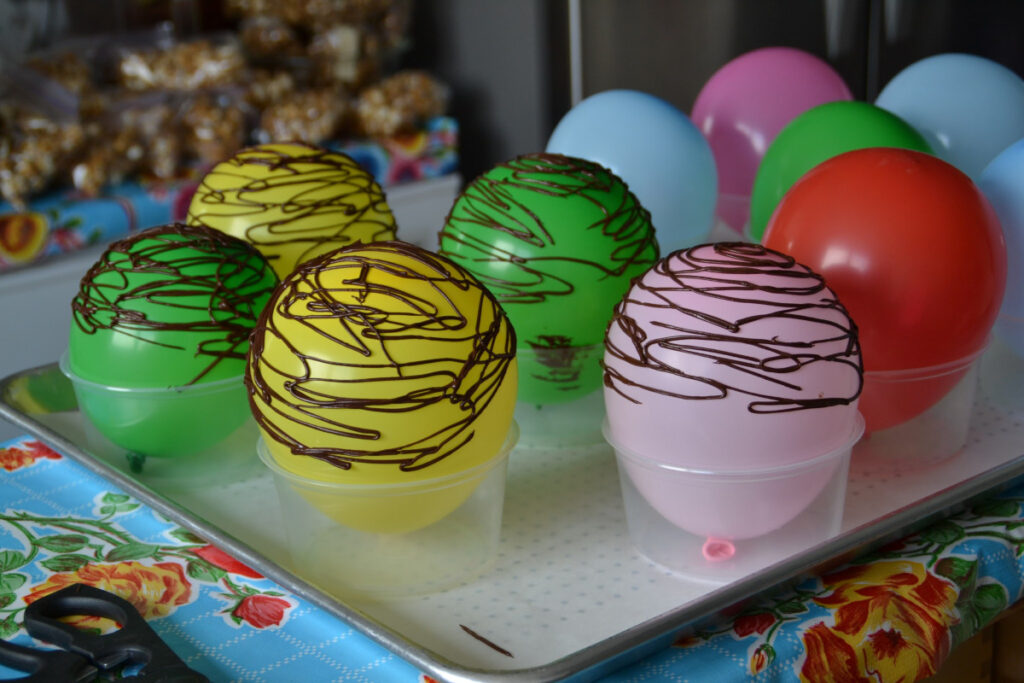
- Tie the balloon and place the tied side down in a container or bowl that fits tightly. You want this container to hold it still while you are putting chocolate on it.
- Prepare your chocolate by tempering it. Melt, cool, heat.
- Pour the chocolate into a plastic bag or parchment cone, cut the tip off and begin to create the pattern on the balloon.
- Create a clear stop point where you don’t go beyond, like the top of the bowl.
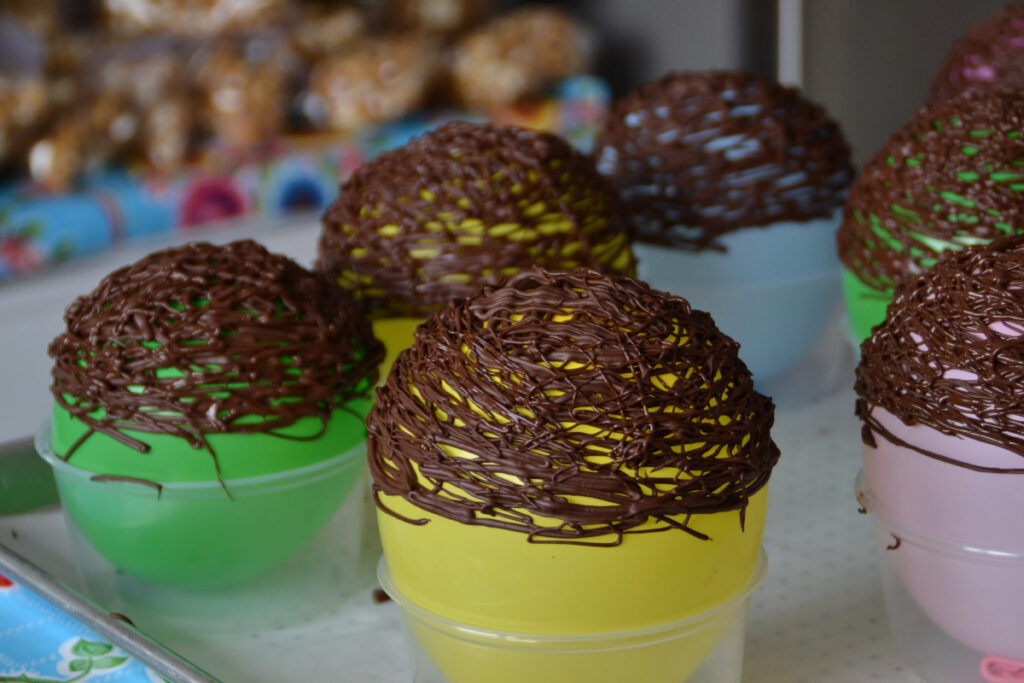
- You will work in layers. Create one layer, allow to cool, add the next layer, allow to cool. Do this up to five times. You can place in the refrigerator or in front of a fan to help speed up this process.
- Once you have added all your layers and the chocolate is hard, pop the balloons and remove them.
- The chocolate nests will keeps for weeks if kept in a cool dark place. I place them in a plastic box with lid and place paper towels in between them so I can stack them.
- Prep Time: 30 minutes
- Category: decorations


